Create and share projects
In this article
Projects provide a way to separate QR codes by purpose and collaborate with other users, with full control over access and publishing permissions.
This article explains how to create projects and how to invite your team to join them.
How to create a new project
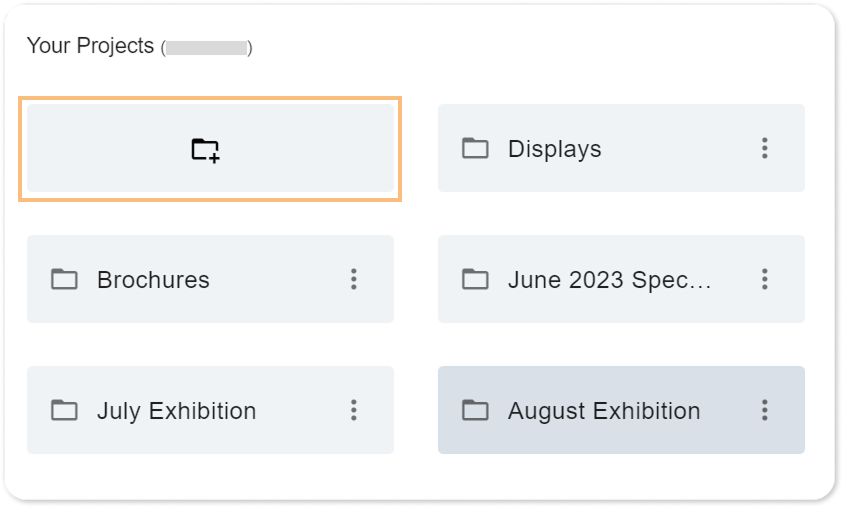
- In the top navigation, click the button to open the Projects overview.

or
- Click (New Project) .
- Enter a name for the new project.
- Click create project.
- The project folder is created, and the Project Members dialog opens automatically.
From here, you can immediately start inviting other users to the project.
To invite users, click Invite in the Project Members dialog. For details, see How to invite other people to a project below.
How to invite other people to a project
ℹ️ You can only invite other users to projects that you created.
- Open the Project Members dialog of the project you want to invite people to:
a: Open the project, and click the button.
or
b: In the top navigation, click the button to open the Projects overview. Locate the project, select , then click members. - Click Invite.
- Enter the user’s email address or username and click Send Invite.
– You can invite users who do not yet have a QR Translator account with their email address.
– Press Enter to add multiple recipients. - QR Translator will send an invitation mail. The invited user can join the project by clicking the link in the email.
How to navigate between projects
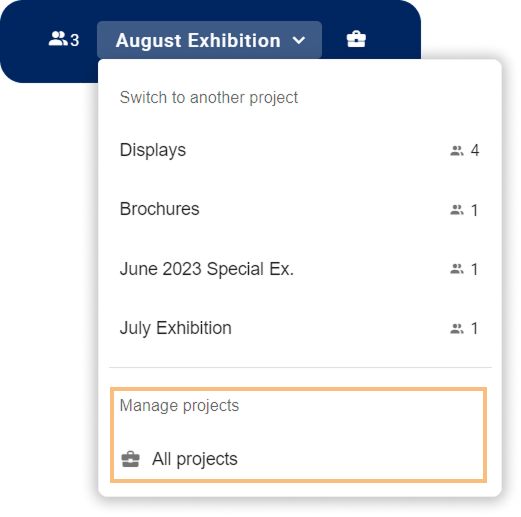
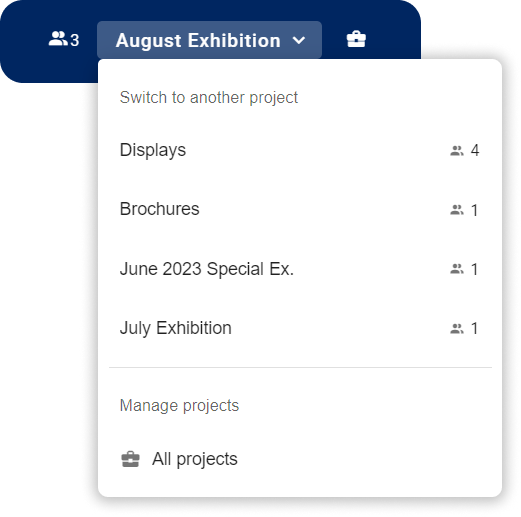
- In the top navigation, click the current project name (center).
- In the drop-down menu, select the project you want to open.
ℹ️ Select All projects to view the full project overview.
Was this helpful?
YesNo