Create a new QR code
In this article
This article explains how to create a multilingual QR code in QR Translator.
You will learn how to name your code, add your content, choose translation languages, and generate your QR code.
Creating a QR code takes only a few minutes and does not require technical knowledge.
Before You Begin
QR codes are always created inside a Project.
A project is a folder that can shared with other users.
You must have at least one project before you can create any QR codes. New accounts automatically include a starter project called “My Project”, so you can begin creating QR codes right away.
For more information about projects, please see projects.
1. Start a New QR Code
- Open the Dashboard and open the project you want to use.
- Click + New QR Code
This opens the setup form where you can add content and translations.
⚠️ Important: QR codes cannot be moved to another project later.
2. Name Your QR Code
- Code name: Enter a name for your new QR code.
- Click next
3. Add Your Source Content
In the Source Text section:
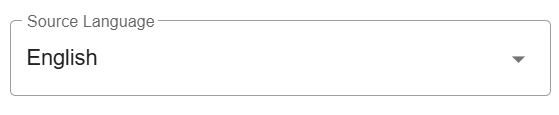
- Select the language of your original content.
This language will be used as the source language for the translations.
By default, the language is automatically detected based on the QR code name you entered in the previous step
- Choose a window title
This is the title shown at the top of the browser or tab when someone opens this QR code’s content. It helps users identify the page when they have multiple tabs open. - Paste or type your source text (text you want to translate) into the editor.
You can use standard keyboard shortcuts (Ctrl+C / Ctrl+V or Cmd+C / Cmd+V).
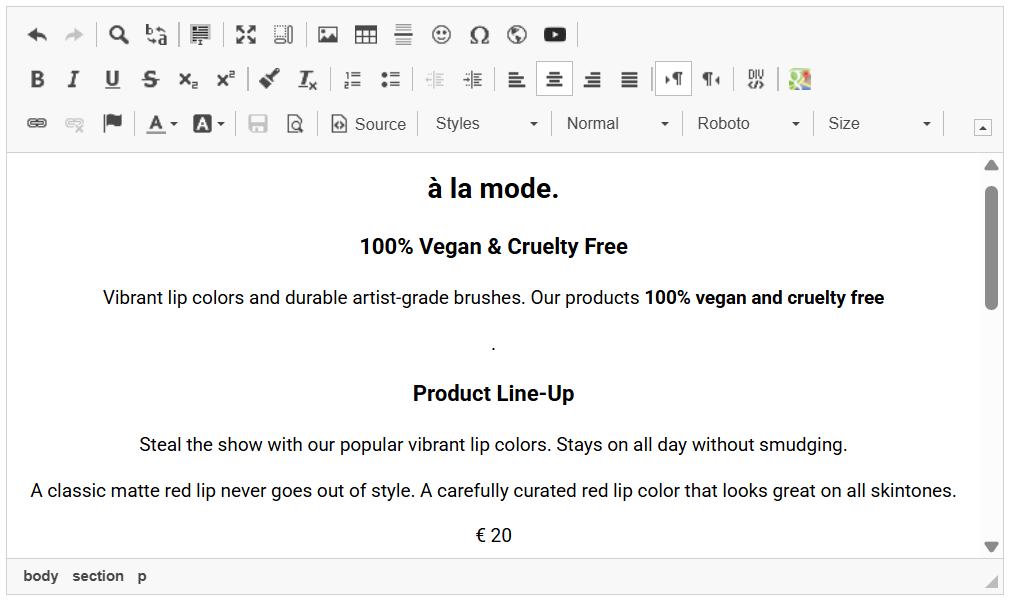
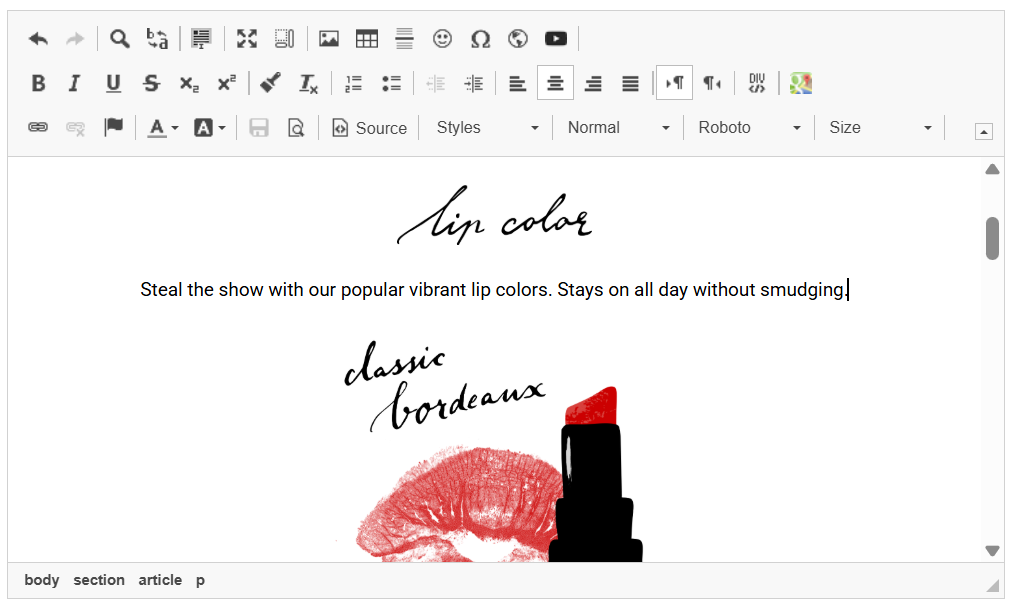
- Add rich content using the editor toolbar.
You can insert images, tables, links, and more.
Tip: You can also drag and drop images directly into the editor.
For more information on each button in the editor toolbar, see Using the editor’s toolbar.
- When you are ready to translate, click next
4. Choose Translation Languages
- Under Select Languages, select up to 14 languages to add to your QR Code.
You can add and delete languages later.
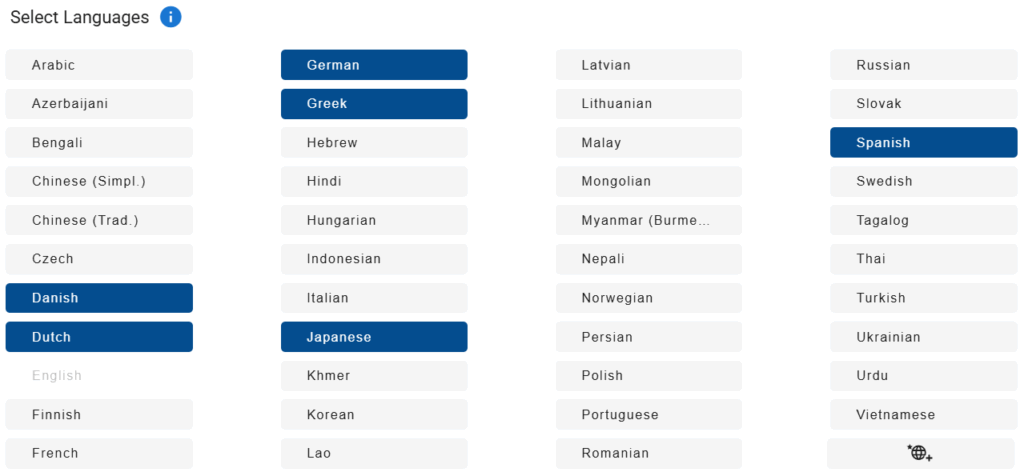
- After choosing your languages, click translate
ℹ️ You can add additional language options by configuring Custom Languages. Please see Custom Languages for details.
5. Final Step: Generate Your QR Code
When you click Translate, QR Translator completes the setup automatically by doing all of the following at the same time:
- Generates translations for all selected languages
- Creates text-to-speech audio for supported languages
- Generates a single QR code that serves as the entry point to all translations
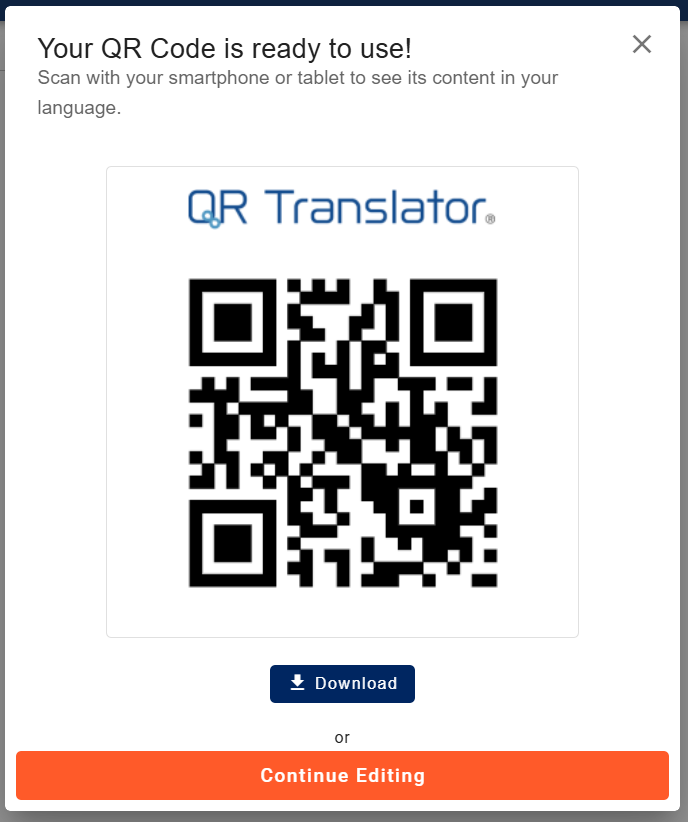
Scan the QR code shown on the screen to check its content,
click download for download options,
or click continue editing to view and edit the translations.
Next Steps
After your QR Code is created, you can:
- Download the QR code
- Edit content and translations
- Adjust audio / text-to-speech settings
ℹ️ Free trial and activation
Each QR code automatically includes a 14-day free trial.
- During the free trial, all features are available, including audio.
- After the 14 days end, a watermark appears on the translations and the audio player is hidden.
- To remove the watermark and continue using audio, you need to start a subscription to activate the QR code.
For step-by-step instructions, see Remove watermark (Activate).