Translate with a glossary
In this article
This article explains what a glossary is, how to create and edit one, and how to apply glossary terms when translating a QR code.
What is a glossary?
A glossary is a custom dictionary of frequently used words or phrases with their translations. You can use the glossary to specify how you want brand names or specific terminology to be translated in each language. A glossary entry is called a term.
Examples
| Category | Source term | English | Japanese | French |
|---|---|---|---|---|
| Brand names | QR Translator | QR Translator | QR Translator | QR Translator |
| Safety instructions | Emergency exit | Emergency exit | 非常口 | Sortie de secours |
| Technical terms that are often mistranslated | Mother-of-pearl | Mother-of-pearl | 真珠母貝 | Nacre |
Setting up and editing a glossary
- Open the Dashboard .
- Open the project for which you want to make a glossary. Each project has one glossary, and glossary terms apply only to translations within that project.
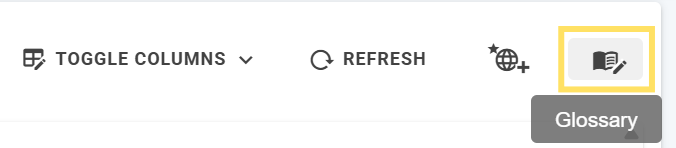
- On the top right of the QR code list, click the dictionary icon.
- Click the to add more language columns to the glossary.
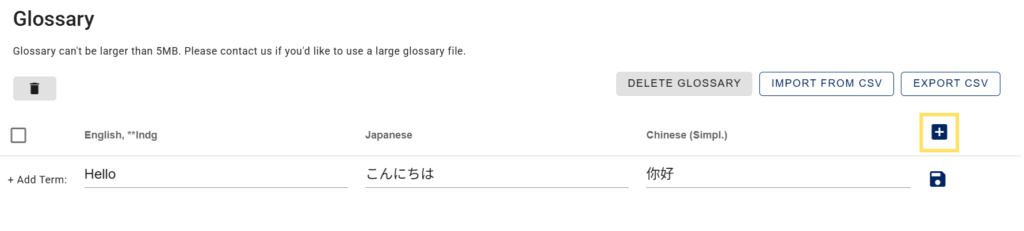
- Add new terms by filling out the translated terms in the bottom row (+ Add Term:) and clicking the button on the right.
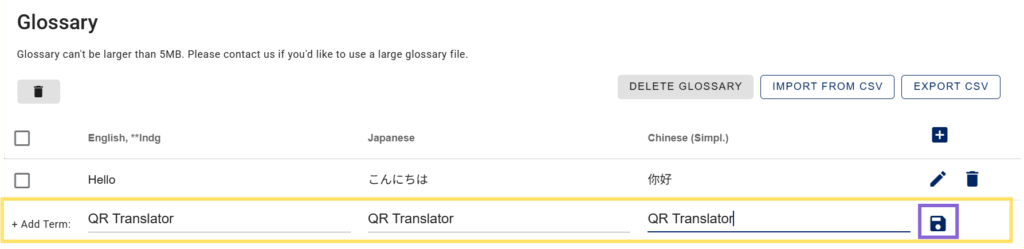
- Click save to save everything.
How to use the glossary when translating
- On the Add / Redo translation screen, select the “Use Glossary” checkbox before translating.
Importing and exporting glossary terms (CSV)
CSV import and export lets you manage glossary terms using spreadsheet software such as Excel or Google Sheets. This is especially useful when working with large glossaries, multiple languages, or external translators.
How to export a glossary to CSV
- Open the glossary from the Dashboard.
- Make sure all required language columns are added.
- Click the Export CSV button to export the glossary as a CSV file.
The exported CSV file includes all language columns and existing terms, making it easy to review or edit offline.
How to import glossary terms from CSV
- Open the exported CSV file on your PC.
- Add or edit glossary terms in the spreadsheet.
- Do not change the language codes in the top row.
- Each row represents one glossary term.
- Save the file in CSV format.
- Return to the glossary and click Import from CSV to import the updated file.
⚠️ Important: CSV upload replaces the entire glossary
When you upload a CSV file, the glossary is replaced in its entirety by the contents of the uploaded spreadsheet.
- All rows in the CSV file will become glossary entries
- Existing glossary terms that are not present in the uploaded CSV will be removed